-> 08 Feb 2024
Week 5 – Critic session
I record all previs versions in syn-sketch here.
Here is feedback this week.
- The teacher demonstrated to Maya how to enhance the ending scene, suggesting adding a moment where the ball shakes its head to imply anticipation.
- Exploring the use of exploding effects in Maya, I learned to adjust the transparency of texture colours to achieve the desired smoke disappearance effect.
- Integrating animation principles such as squeeze and stretch, particularly during dynamic actions like jumping or running, was advised by the teacher for more lifelike character movements.
- For smoother transitions, it was recommended to keep the camera static and centred on the character in every scene, ensuring the audience’s focus remains on the animation’s overall flow.
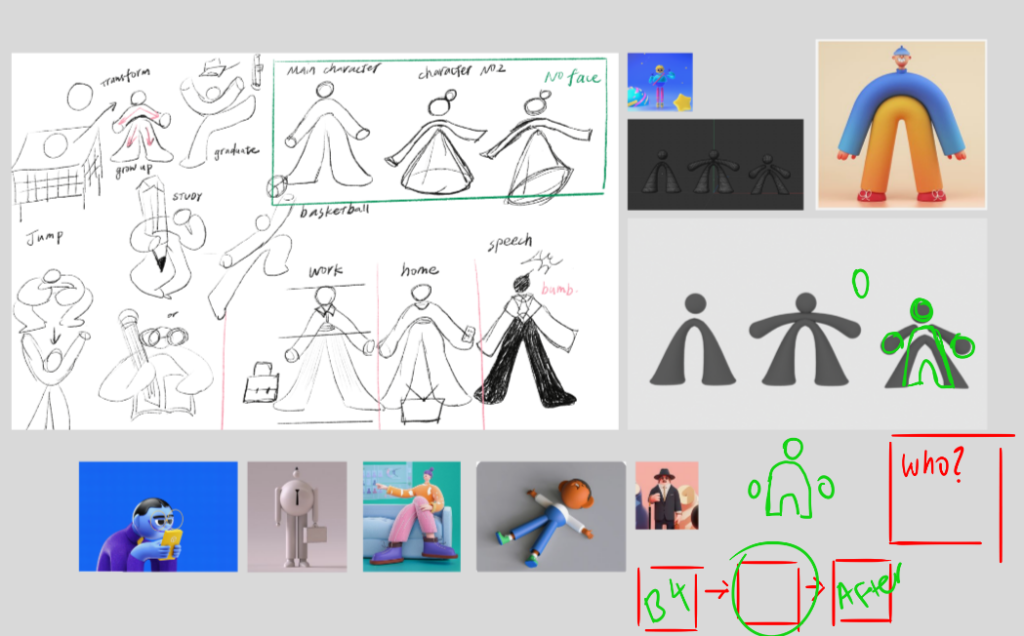

I found it interesting when the teacher suggested writing down the story before and after the events in the animation. This approach helps build a logical sense when constructing the world and gives direction to the style and personality of the character.
For my character, who lives a tedious, repetitive daily life, I imagined that his parents also lived the same sad life. The character tries to make a change but ultimately ends up in the same routine.
–
-> 2024 02 08
Building Scenes Modeling
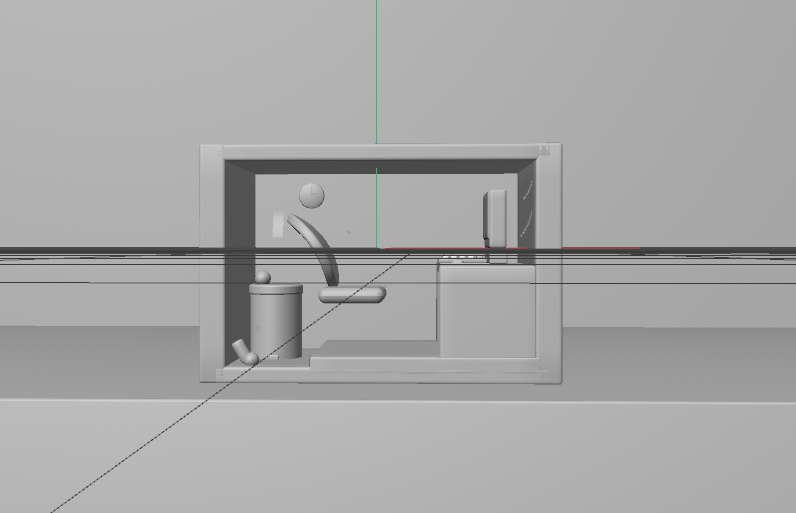
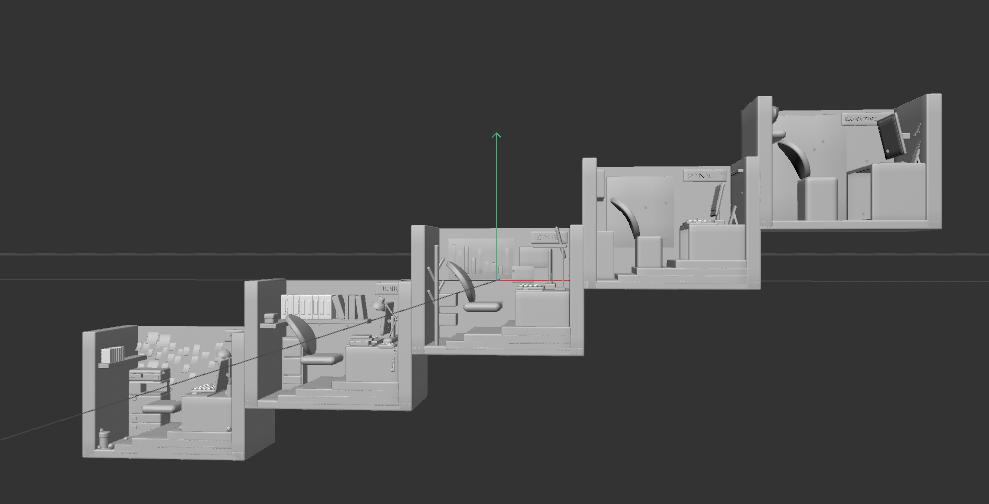
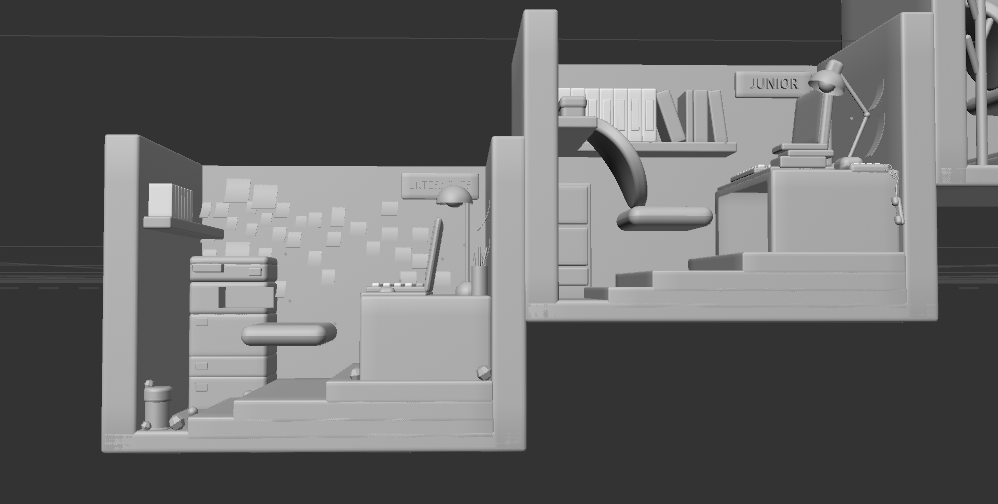
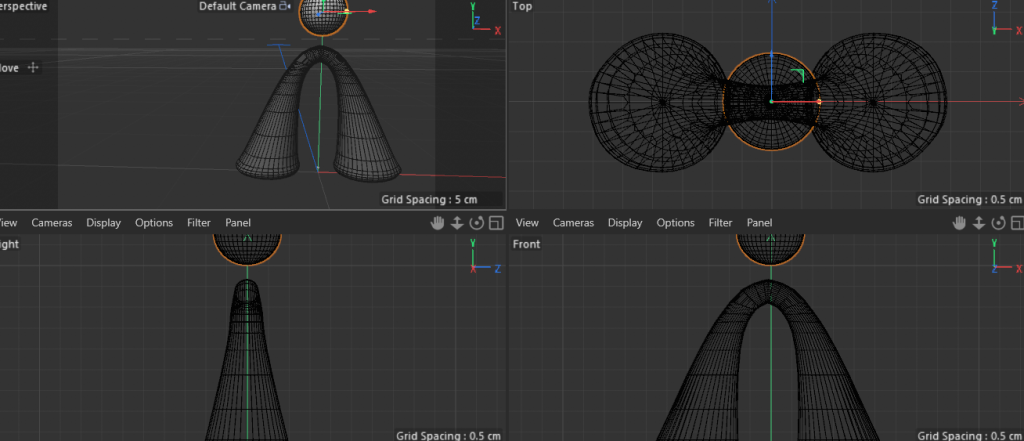
Before creating the previs animation, I constructed my own scenes using basic geometric modelling in C4D and then exported them into Maya.
I also looked at pictures of typical office life. I like how they are arranged consistently, and it looks really cool.
Details:
Commencement speech: This scene is referred from some online photos.
About character design:
The teacher also suggested I model a character with arms that don’t connect to the body. This approach can help reduce problems during the rigging phase.
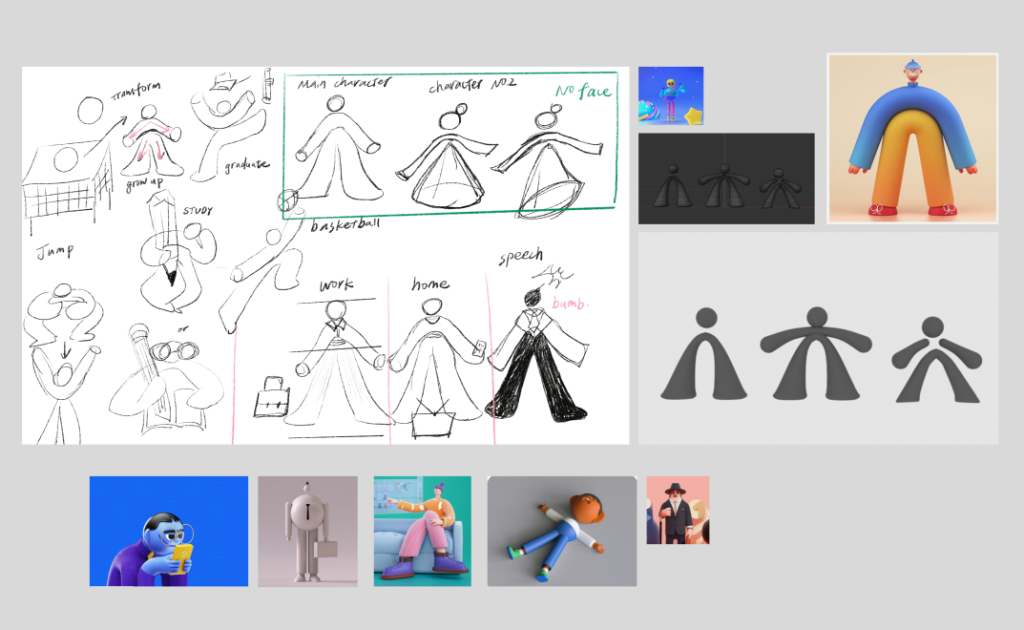
Since the storyboard will go through different stages of life, I plan to create various clothing textures to apply to the same model. This approach maintains consistency and makes it easier to work with, as I don’t have any transition cuts in my animation.
This is my simple draft of the character design:

I model the character on my own. ( Sorry, it’s in C4D. )
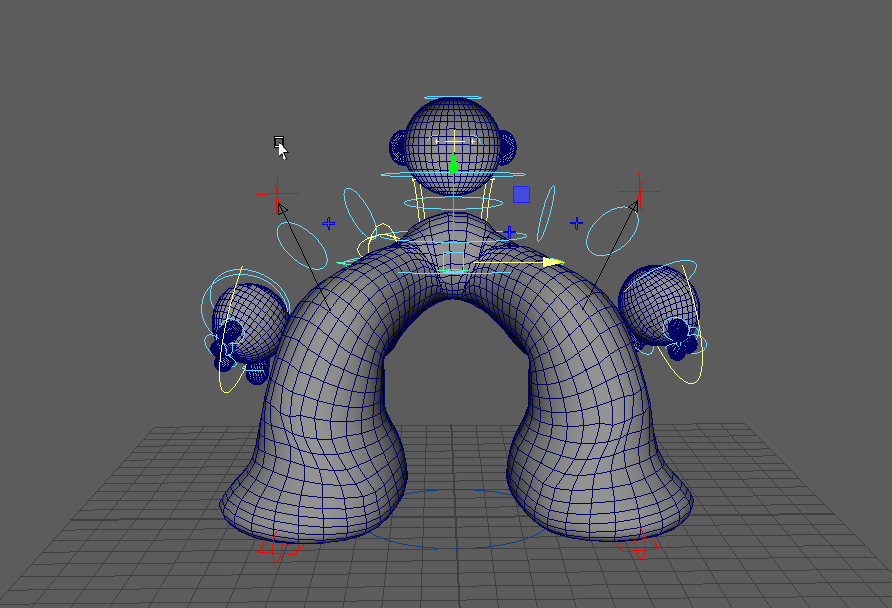
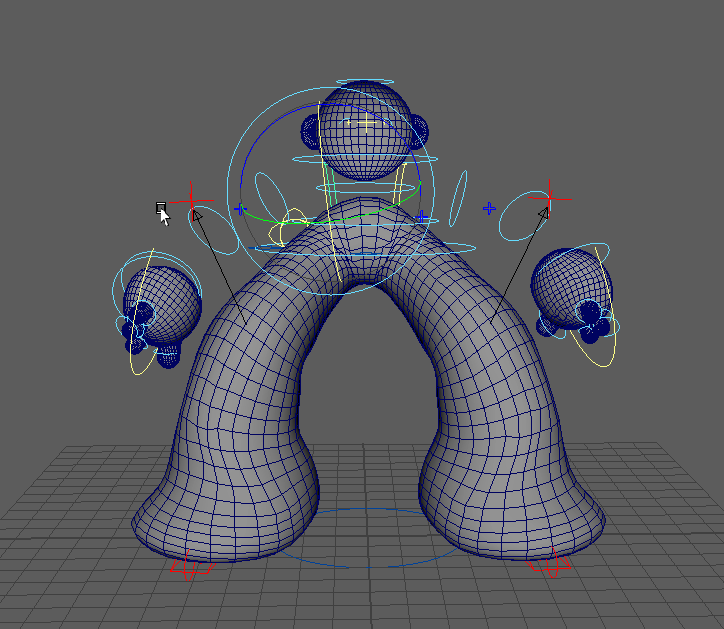
I learn rigging from Marianna! She teaches me how to use advanced skeletons in Maya. Here are recorded notes on how to set rigging in Maya.
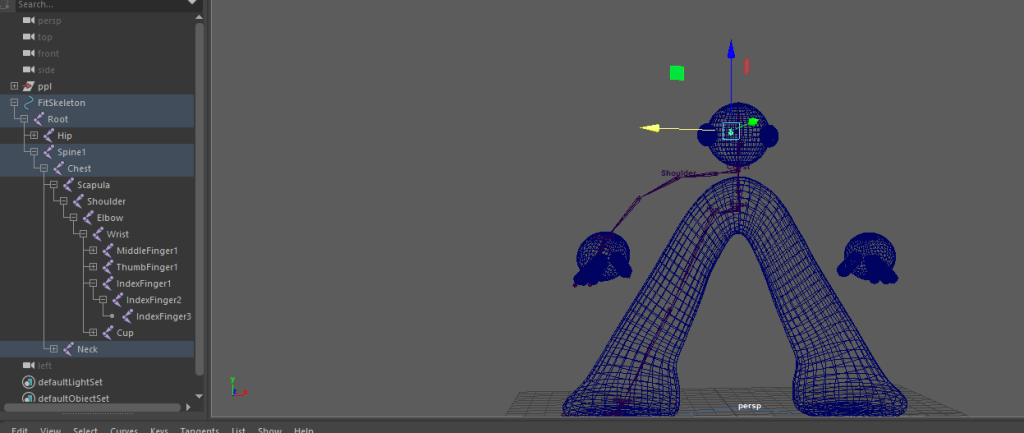
- add skeleton
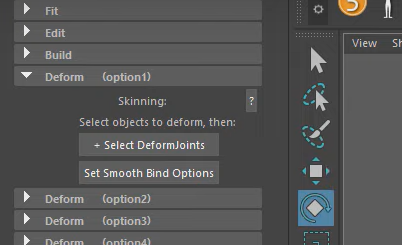
2. Deform > select deformJoints
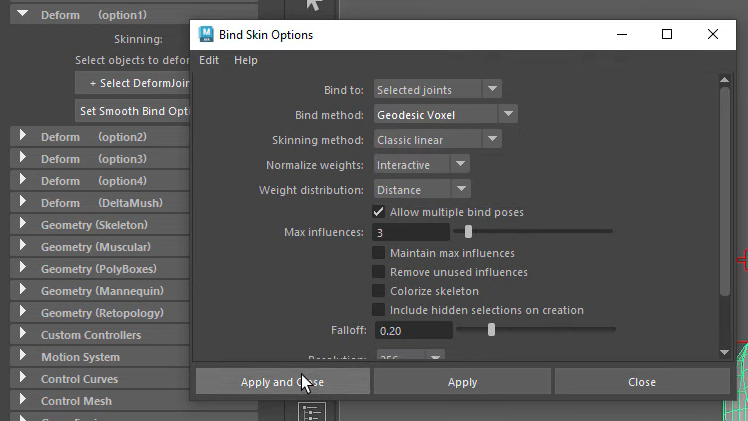
3. Choose the Geodesic Voxel
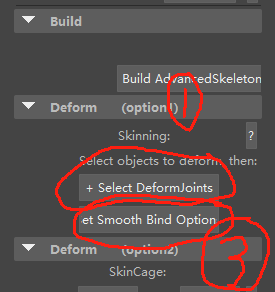
I always forgot the steps !!! ( deform > select > set )
Here is a video I always jump into if I have any rigging problems.
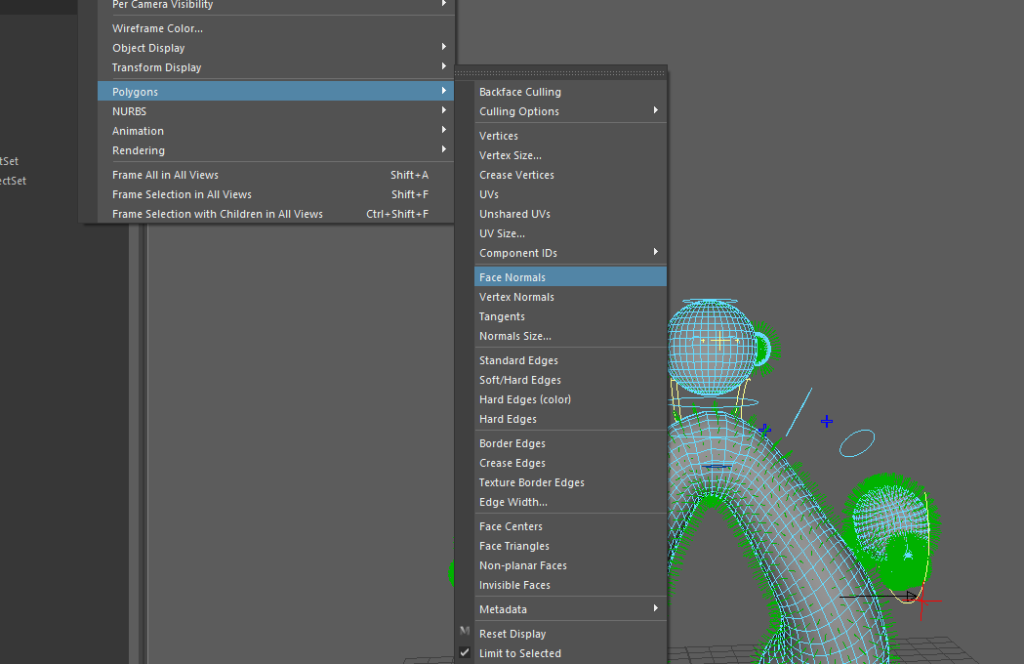
Other problems I faced:
Sometimes in Maya, the mesh may appear upside down. To fix this, we need to reverse the mesh back to its correct position. Here’s how to solve the problem:
Finally……….
I am testing the rigging setting in the first step of the rig in MAYA. ( It is even the first stage of rigging. So painful. )
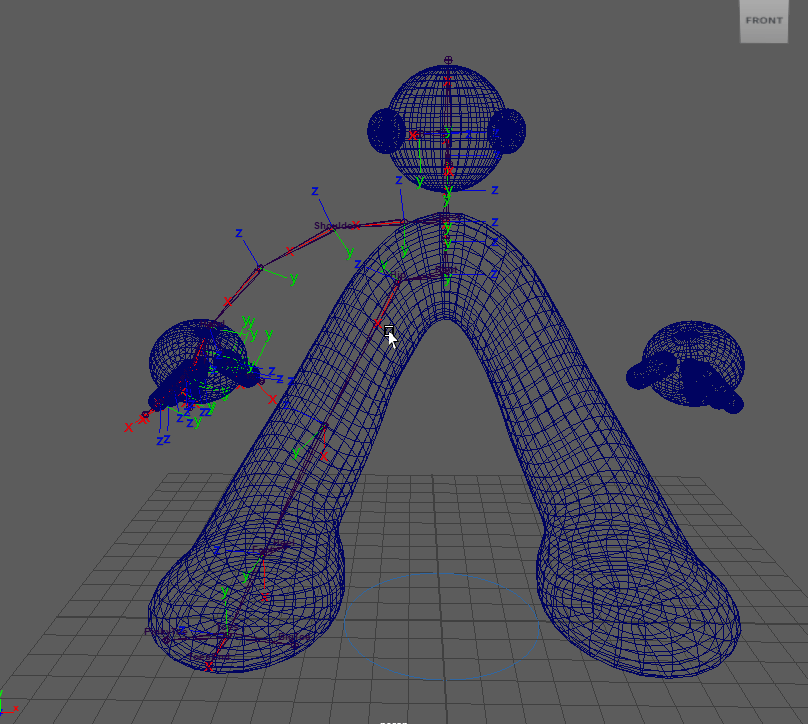
Testing rigging in Maya:

-> 06 Feb 2024
Rigging a ball in MAYA
This term, I am also learning rigging in Maya since I really want to animate my own character.
- Learning via online course ( Domestika online course / Link2 )
Here, I recorded some steps to set up the rig in Maya just for my reminder in the future.
- Skeleton > joint
- Window > outliner
3. Create > lights > directional light
4. shortcut: W > movement / E > rotation / R > scale / Q > lock

- Penal > perspective
- create > camera > camera
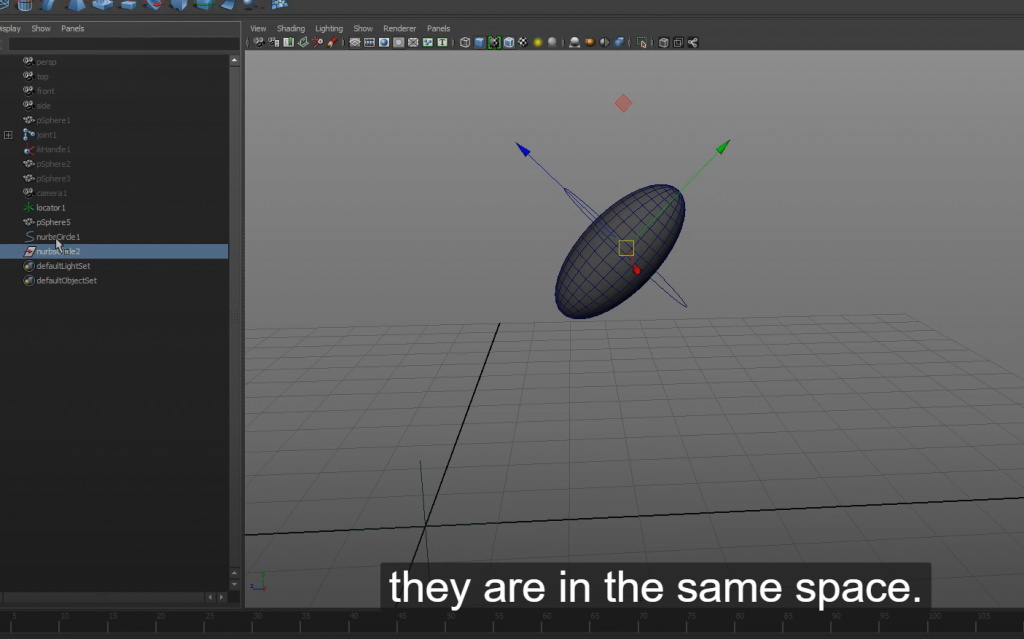
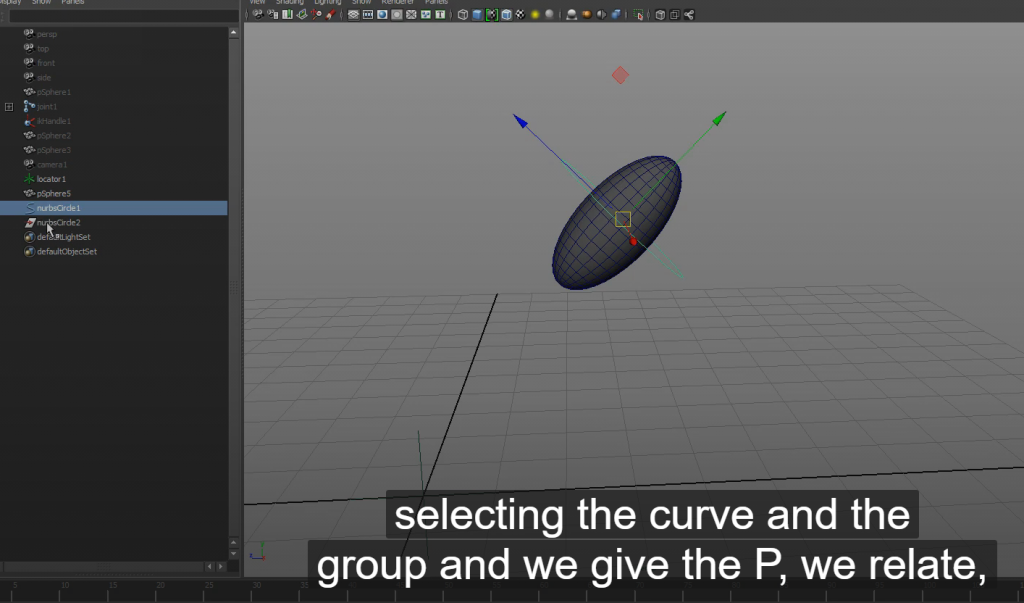
Connect the circle curve to the model
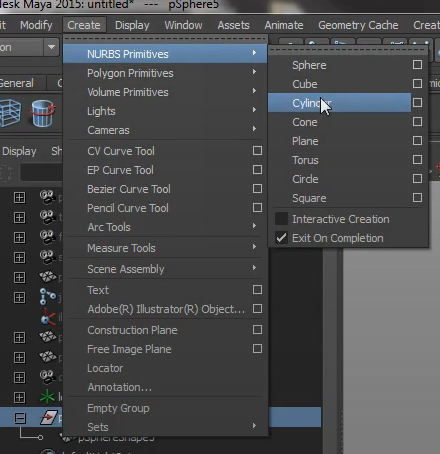
- create curve
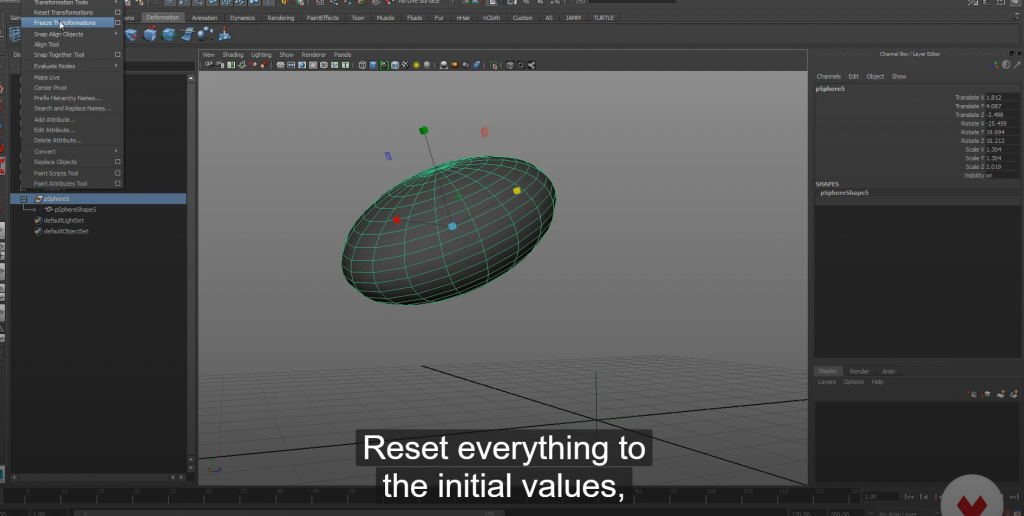
- adjust the position and freeze the transformation data
- Double the curve
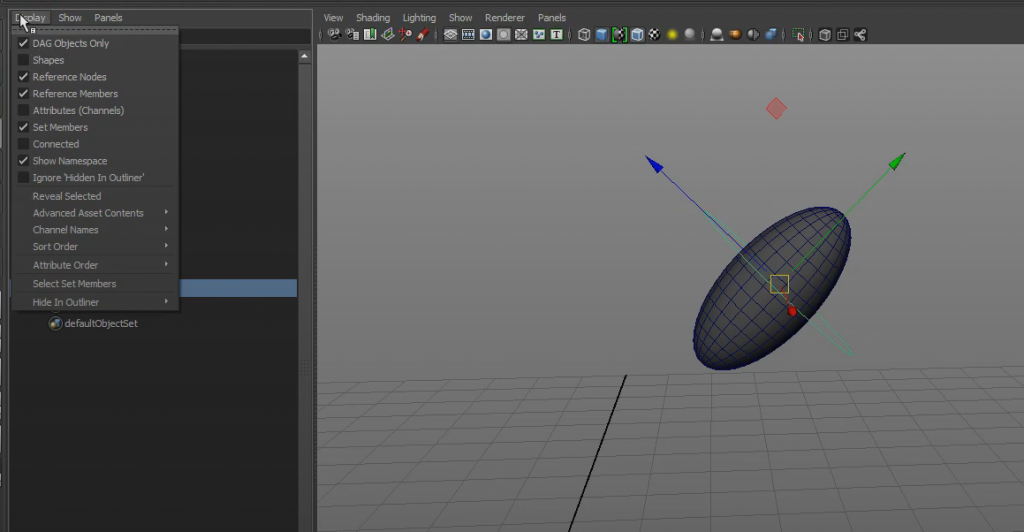
- display > show shape ( select one inside and keep the null group )
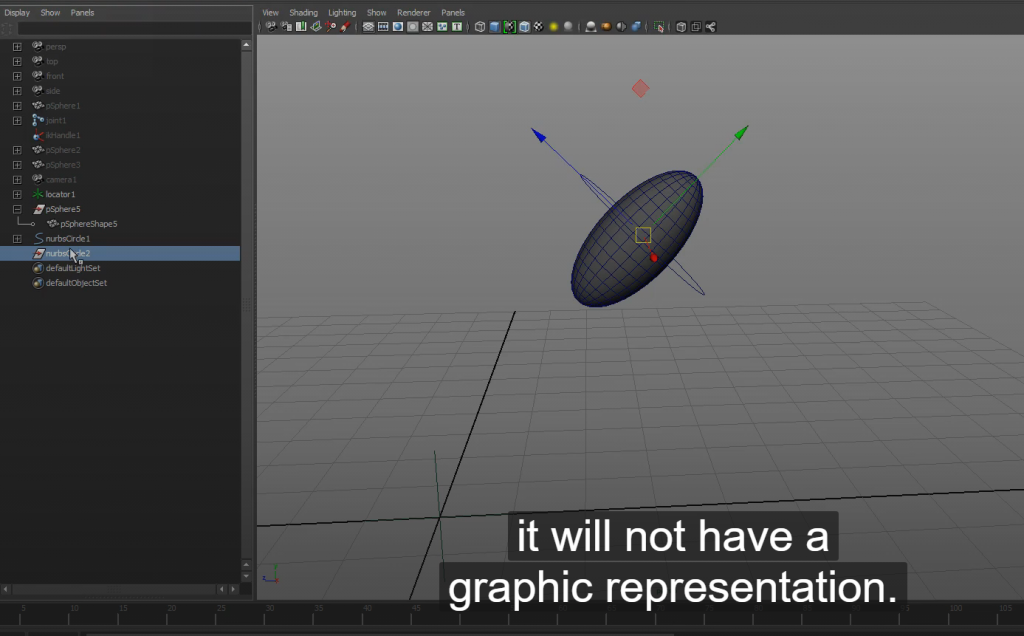
- untick display > select curve and group and press P
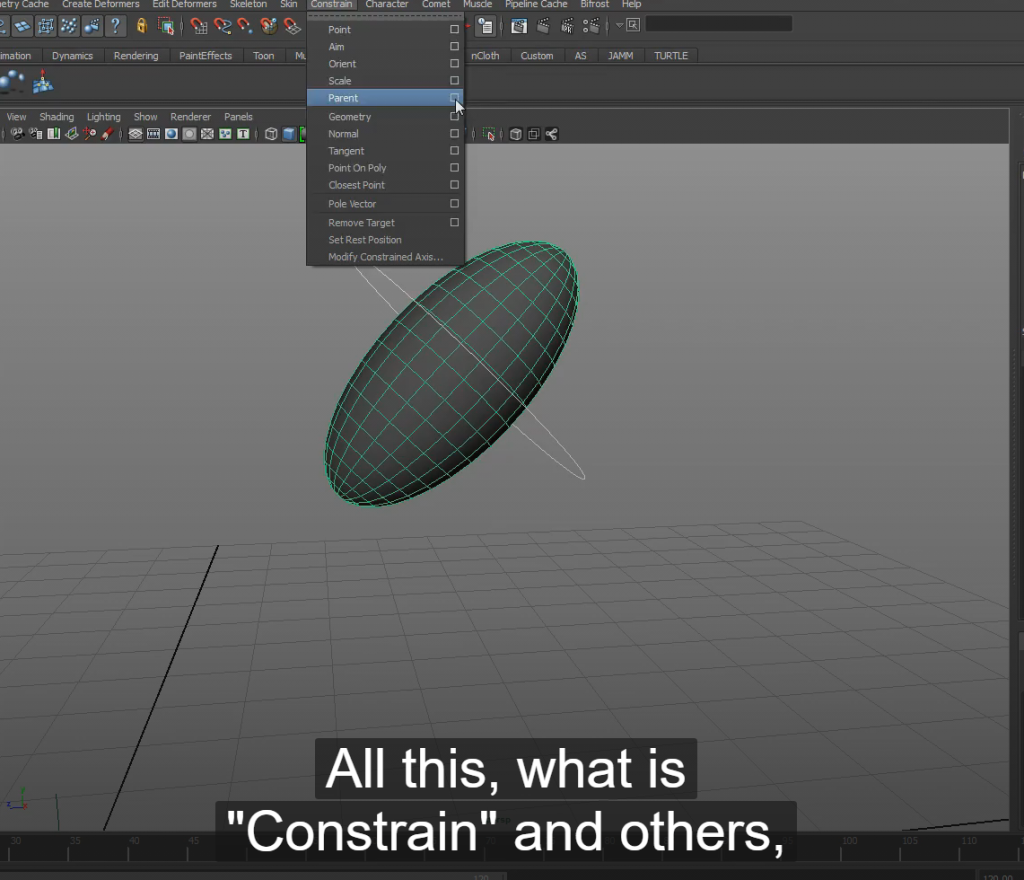
- Constrain > parent > add
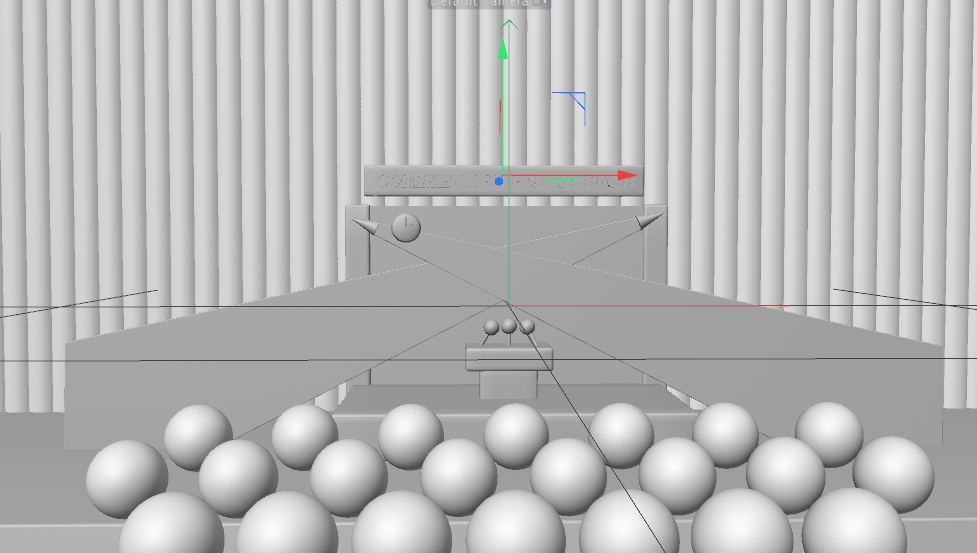
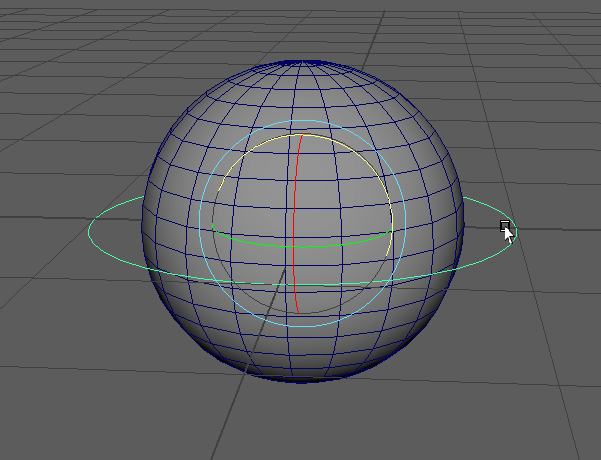
Result of basic rigging of a ball
useful link:
- http://www.cultofrig.com/
- https://www.scott-eaton.com/ Scott Eaton is a designer, artist, and anatomy expert. It has many references to anatomy for artists.
- Hippodrome is a website with deformation references, both body and facial.
- Spanish Riggers is a highly recommended forum where works, tutorials, and lots of interesting things from the world of Rig are shown
- https://www.youtube.com/watch?v=DJXP1NMlt54