-> 2023 19 Nov.
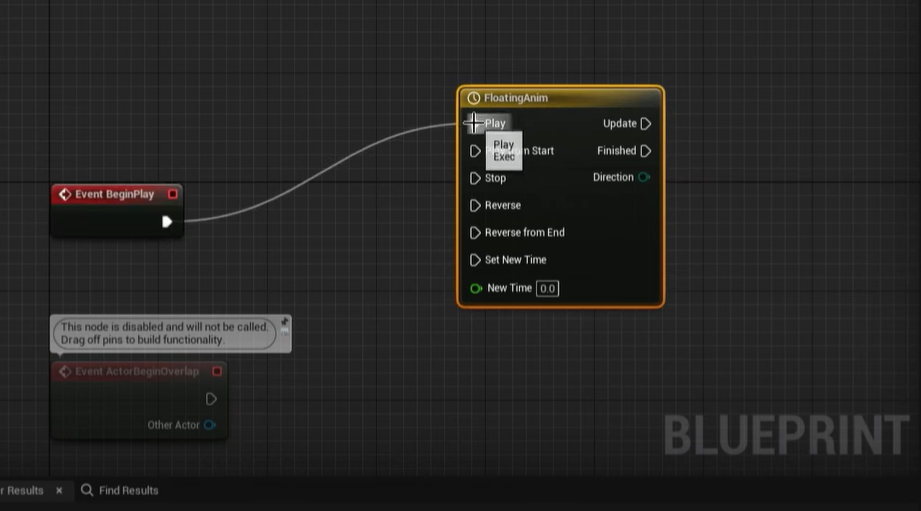
Falling Leaf

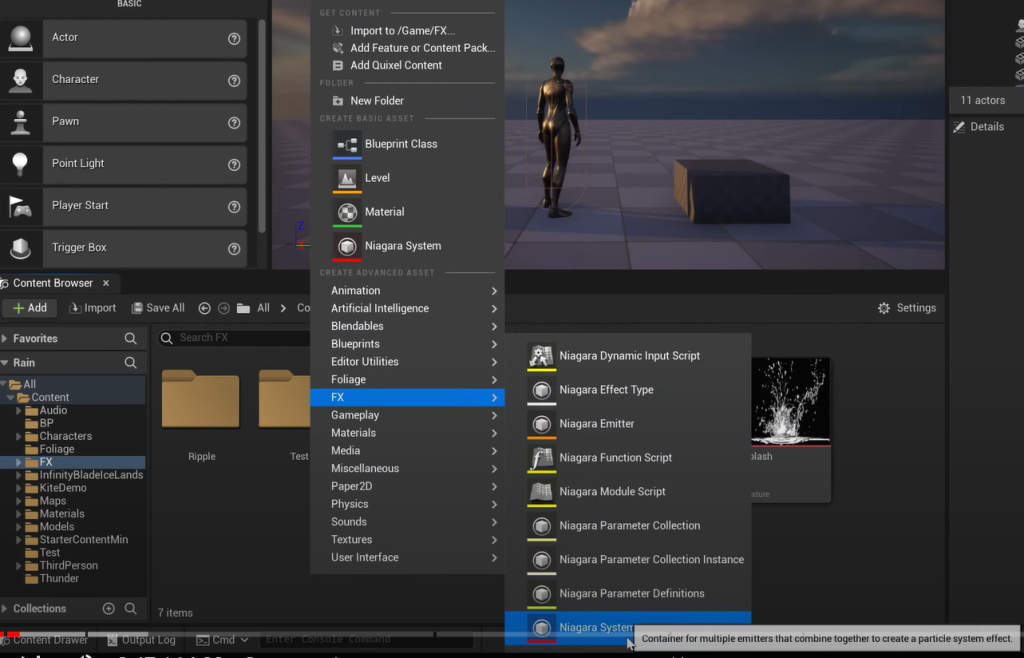
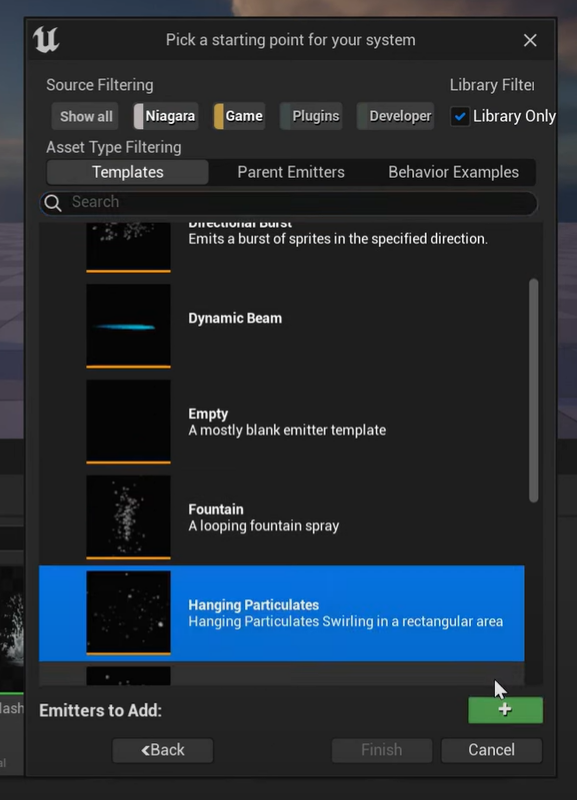
- Content browser -> add Nargara System ->hanging particles -> name it
- select aerodynamic drag
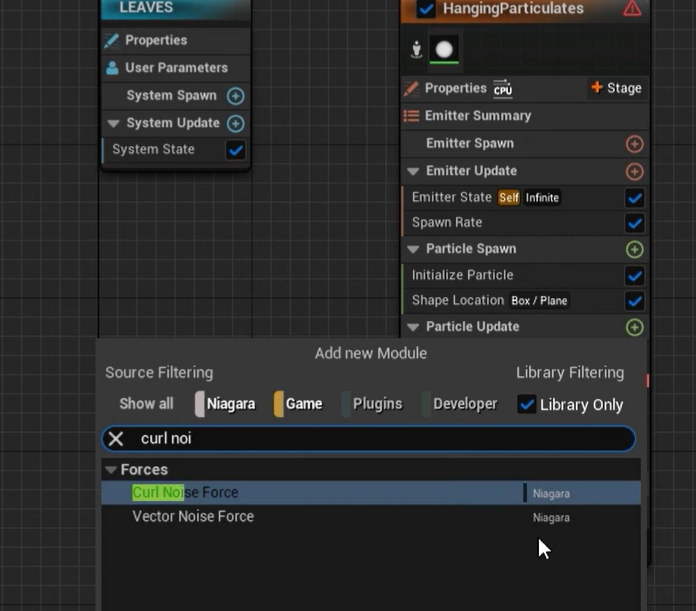
- click + button ( particle update ) -> type curl noise force + Drag + mesh rotation Force + Gravity Force
- Select spirit to render
- Add mesh render
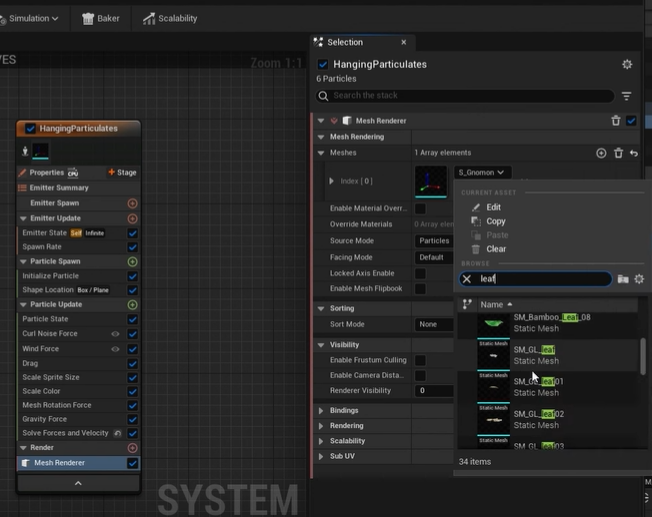
- From the mesh render -> choose a leaf mesh for the index
- Keep adding + more than one meshes
- Click panel -> unable interpolated spawn
- change to GPUcompute sim
- calculate bounds -> fixed
- For life cycle change loop duration 0
- for the spawn rate to change any you want 30
- In the initial particles, change lifetime min 30 max 120 ( random lifetime mode )
- for shape location, in the box plane mode -> change box size 0 100 100
- For particle updates, check kill particles
- for curl noise force, change noise strength 2 frequency 20
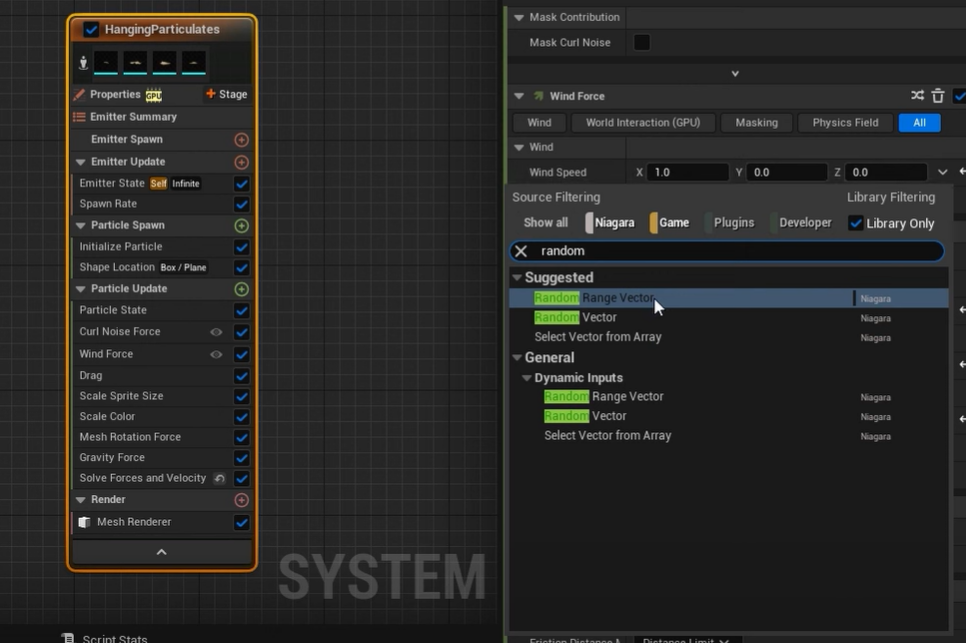
- For wind force, in wind speed, click the down arrow, type random range vector ( make wind force more naturally and randomly )
- min -26 -24 -16, max -0.5 2 -7
- To drag, same click arrow, type random float -> min 2.1 max 1.2 check rotational drag
- For mesh rotation force, click type random range vector min -2 -2 -2 max 2 2 2
- For gravity, -30
- Save
- For spawn rate, we can adjust how much range the falling leaf is -> increase by 100000
-> 2023 17 Nov.
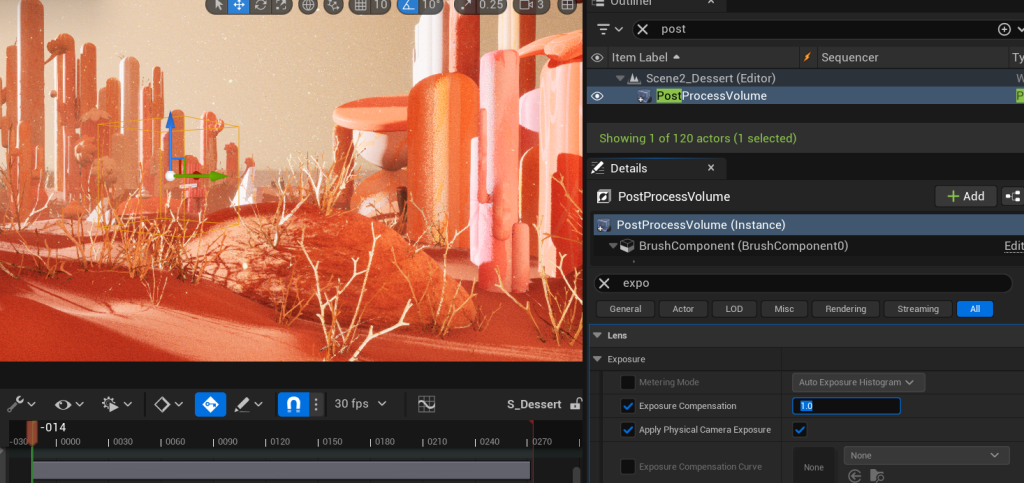
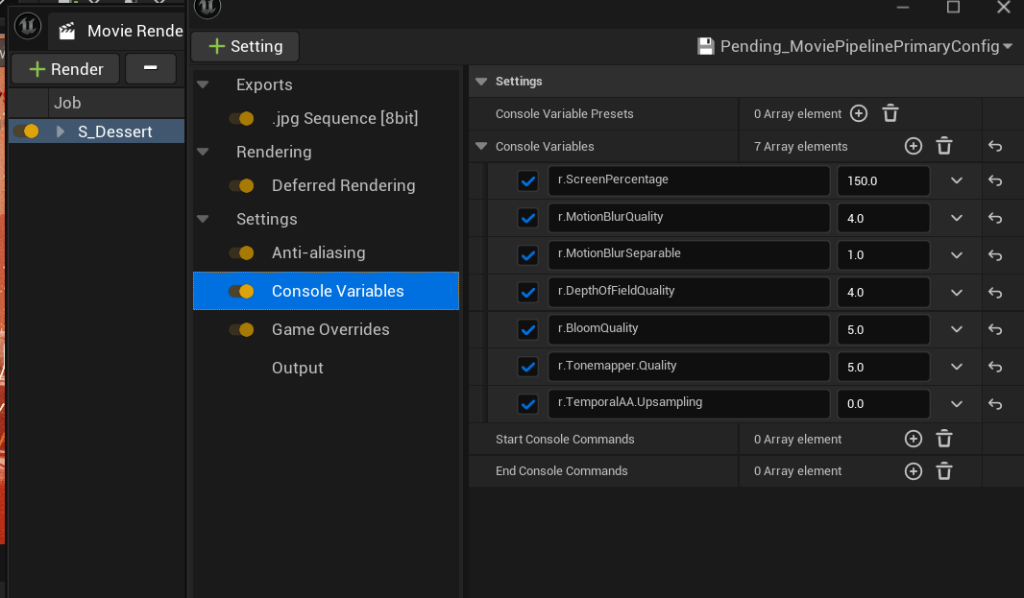
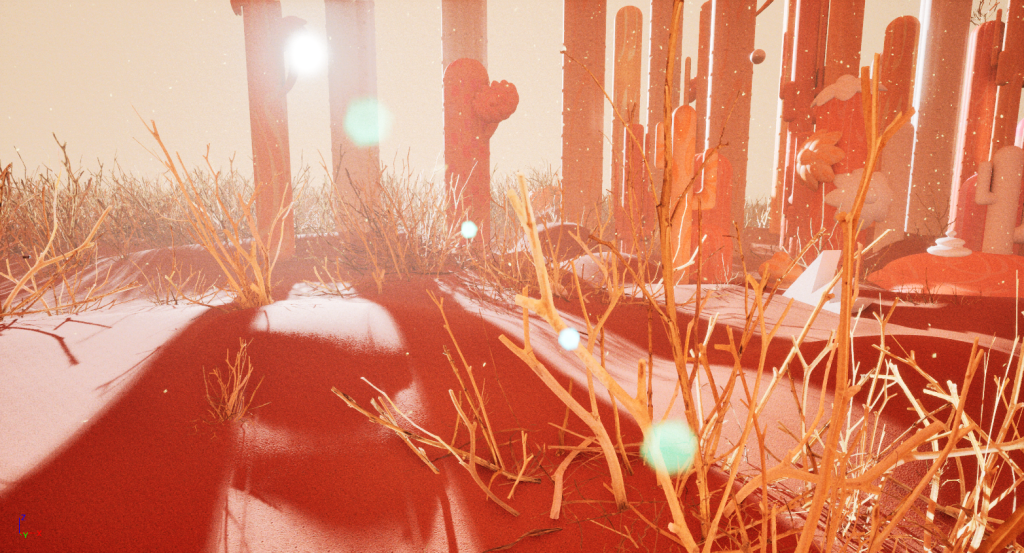
Post Process Render
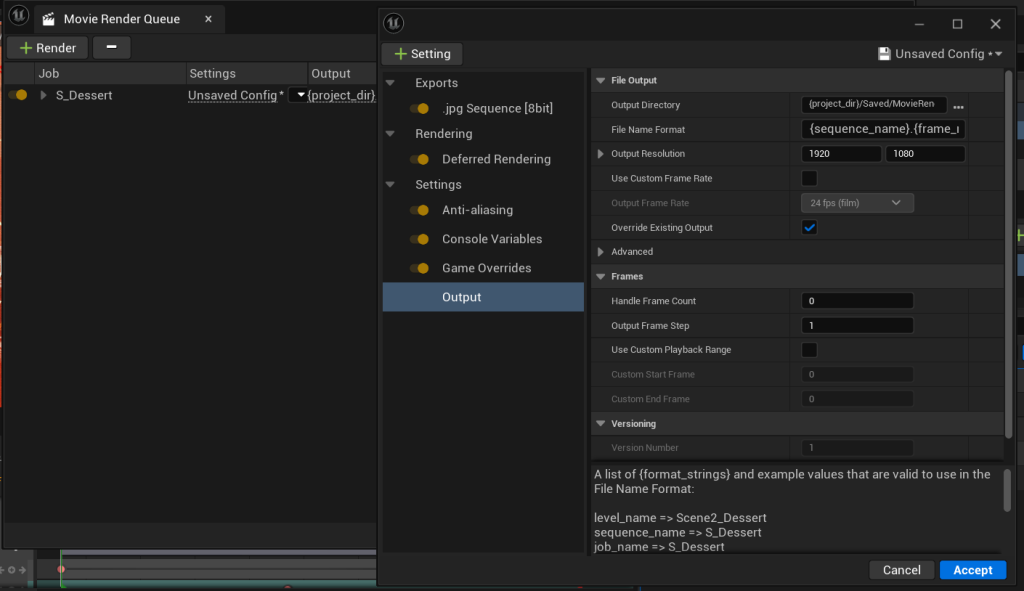
Before adjusting anything, enable the plugin’Movie Render Queue’ first.
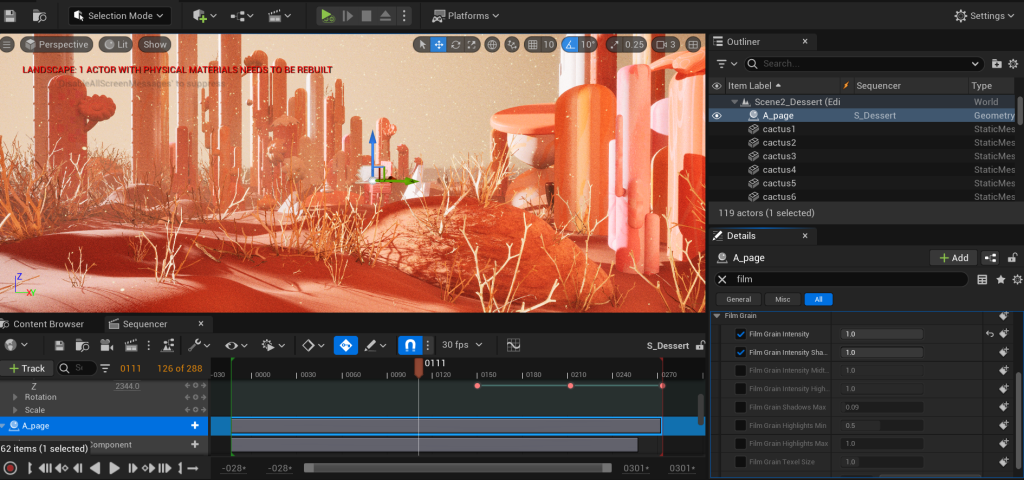
Post-Process Volume: Find and drag the post-process volume into the level from the Place Actors panel. -> Make sure ‘Infinite Extent unbound‘ is ticked.
For rendering, add settings:

- Anit-aliasing
- Console Variable
- Game Override
- choose render ( local )!
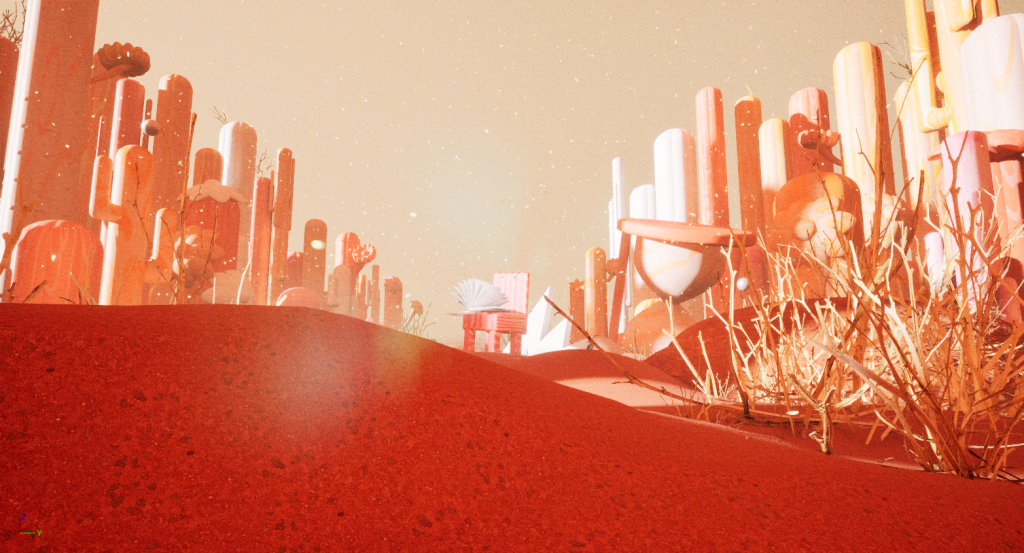
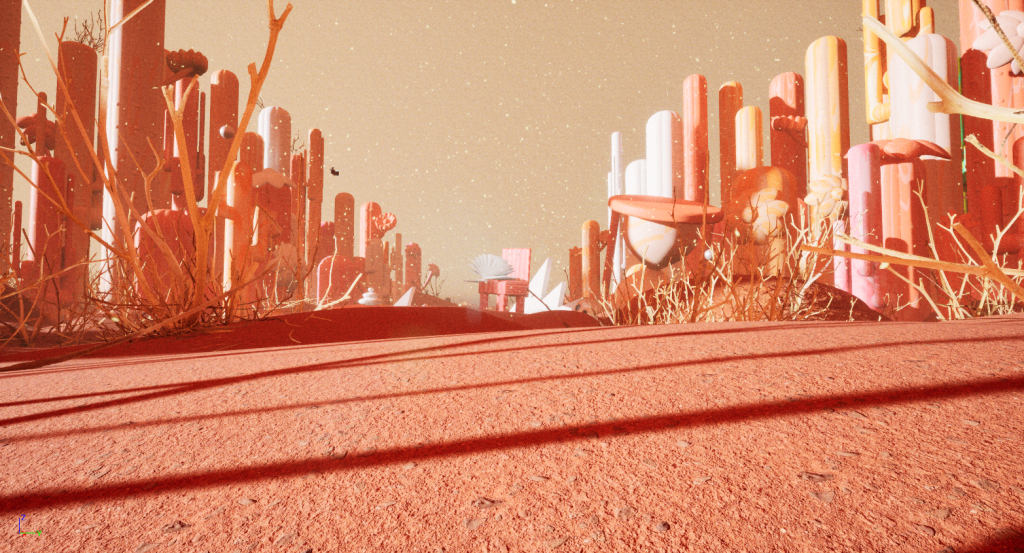
Some Adjustment in Post Process are cool:
- Temperature
- Tone
- Bloom
- Lens Flare
- Lens Flare Add Bokeh Shape ( Texture like a filter )
- Film Grain ( Noise dots )
- Color Grading!!
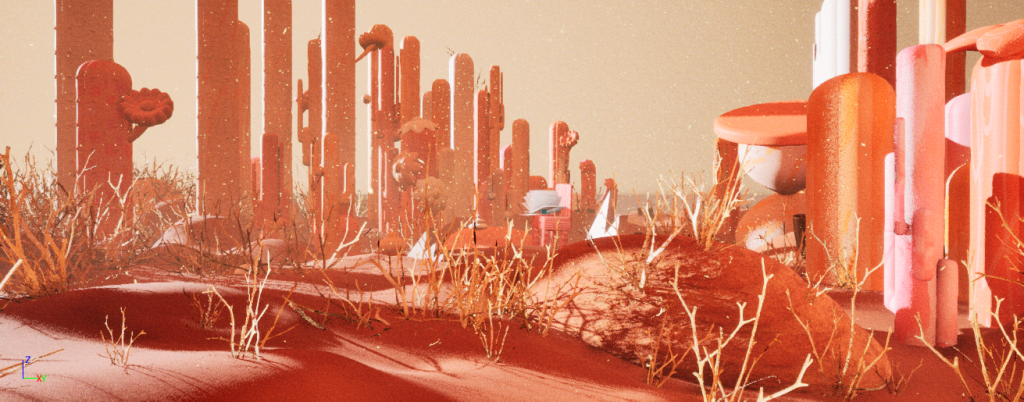
Scenes I like:

-> 2023 04 Nov.
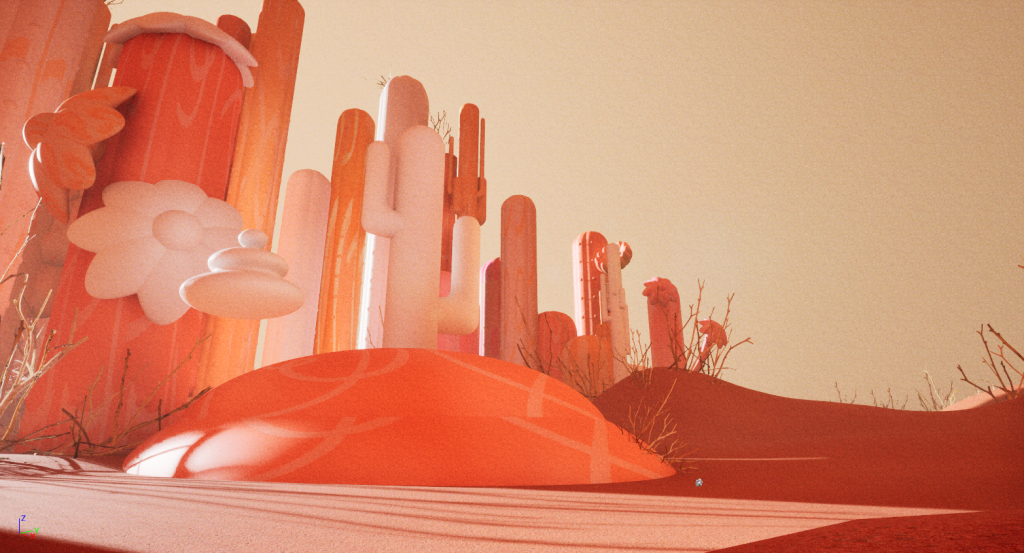
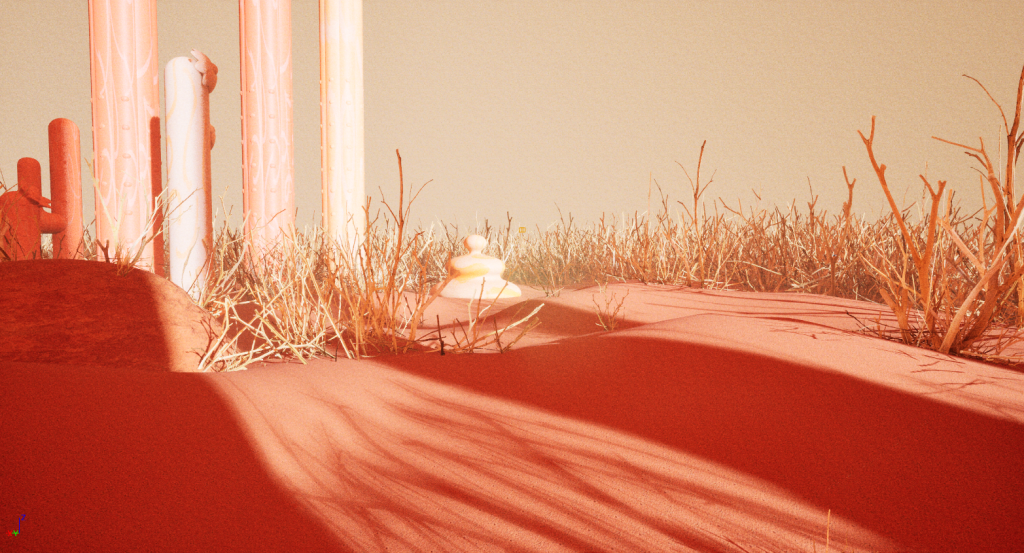
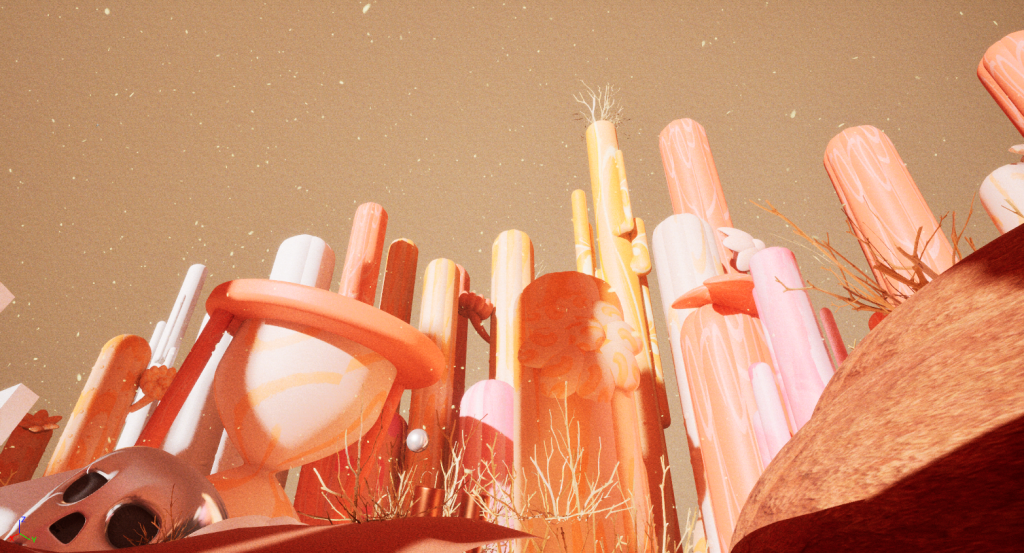
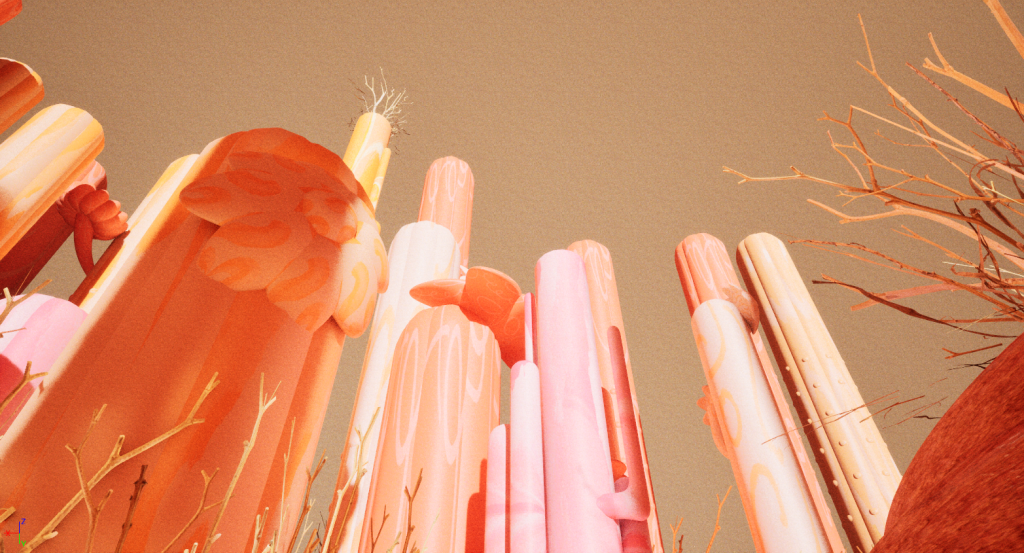
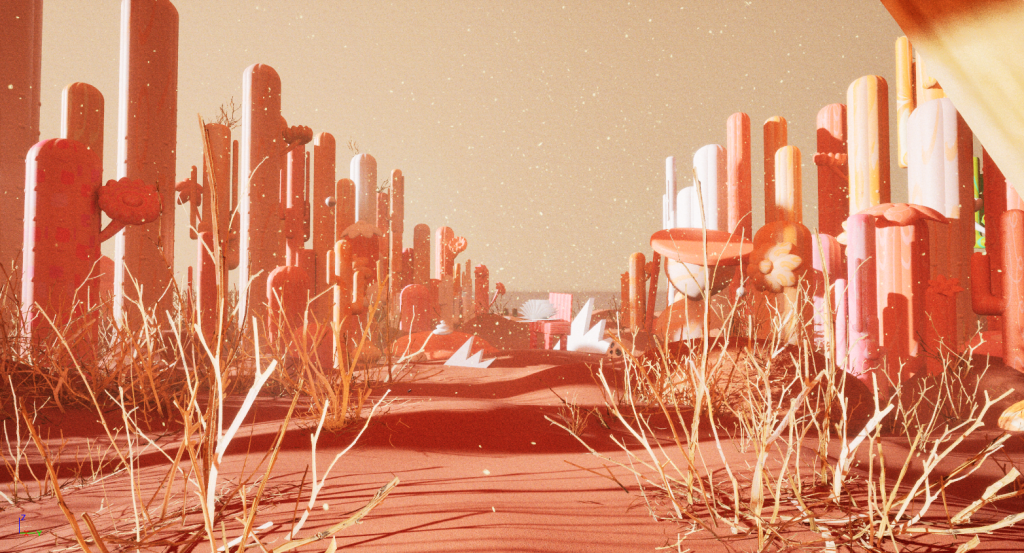
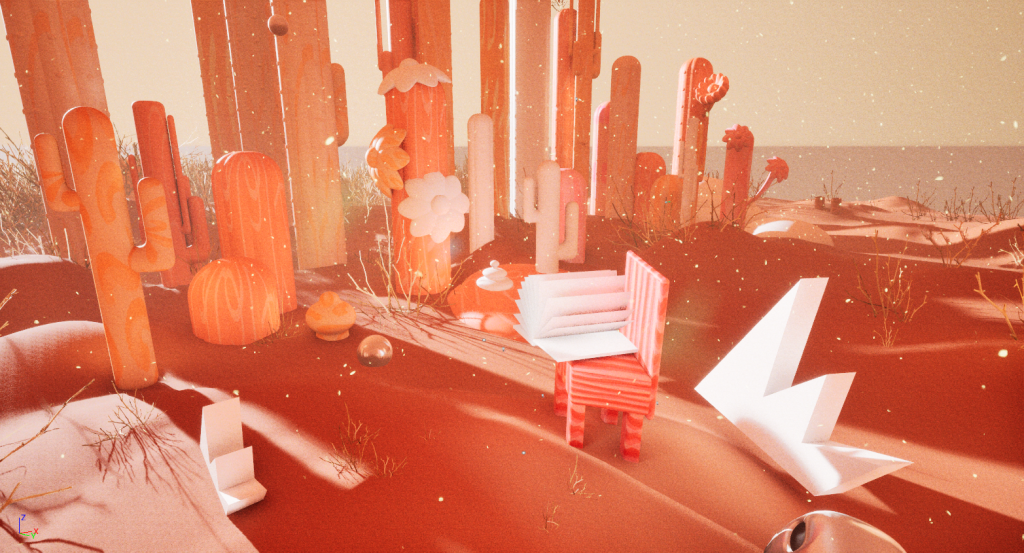
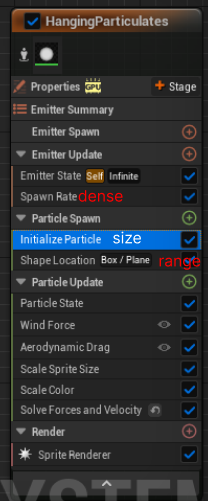
Particles
-> 2023 04 Nov.
Floating Object
How to make objects floating on the surface of the ocean:
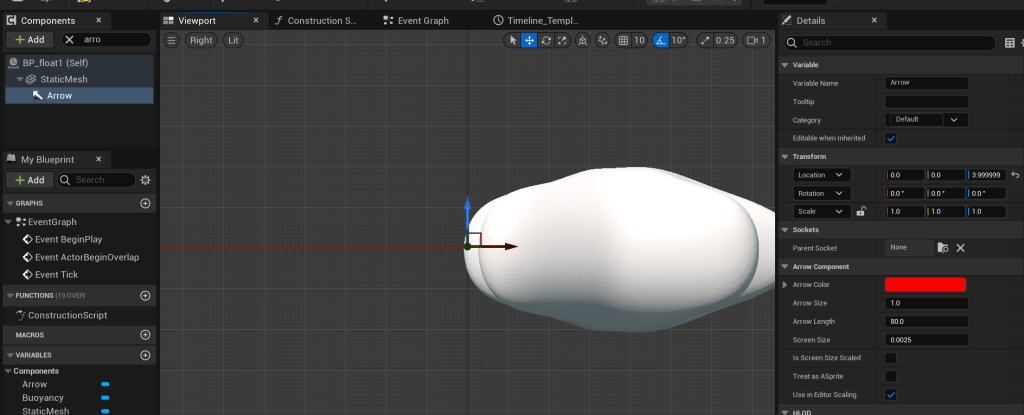
- Create a new blueprint ( +ADD )
- For component, add static mesh -> drag it cross, and as our route
- Choose the object I want it to float ( from the right side of the panel: Static Mesh)
- Physic -> Simulate physics tisk! -> Mass (kg) tisk
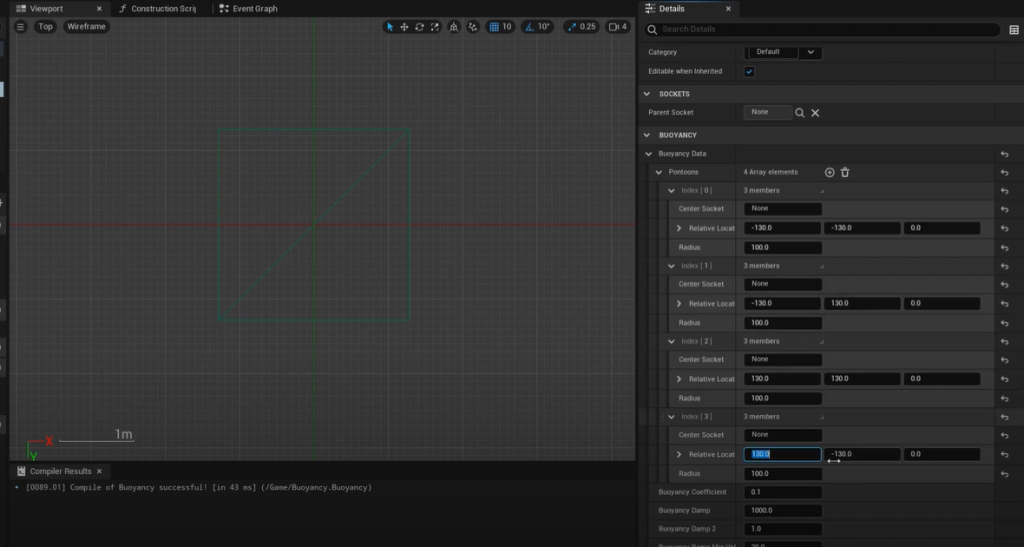
- +Add buoyancy on the right panel ( force the acts opposite to the weight inside the water )
- To define where we want the force to act, under buoyancy data, add pontoons + -> Click compile!
- Debug: cmd -> r.Water.DebugBuoyancy 1 ( we will see how pontoons work in UE5) ( type 0 to disable to see the assistant line )
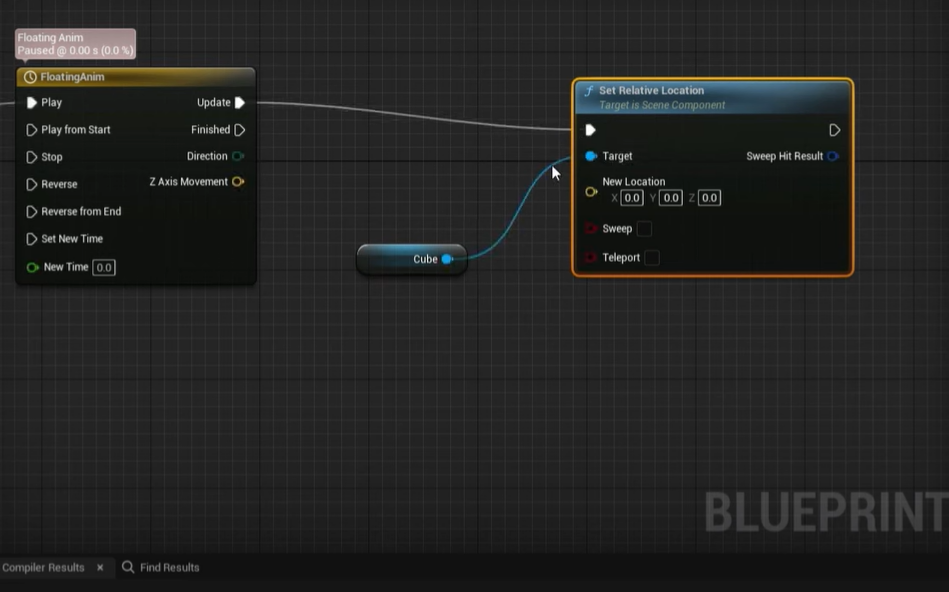
- Another way -> Blue print add timeline -> Double click to open it
- + Track -> add vector track
- Close the eyes of X and Y and lock them
- Right click: Add Key to Z
- Change time 0 and value 0
- Set key ( time 4s, Value 10 ) -> hit compile
-> 2023 03 Nov.
Rig
We learned how to make a basic rig in UE. I mean the whole process is crazy complicated. Haha.
For UE recommend naming https://www.unrealdirective.com/resource/asset-naming-conventions
-> 2023 08 Nov.
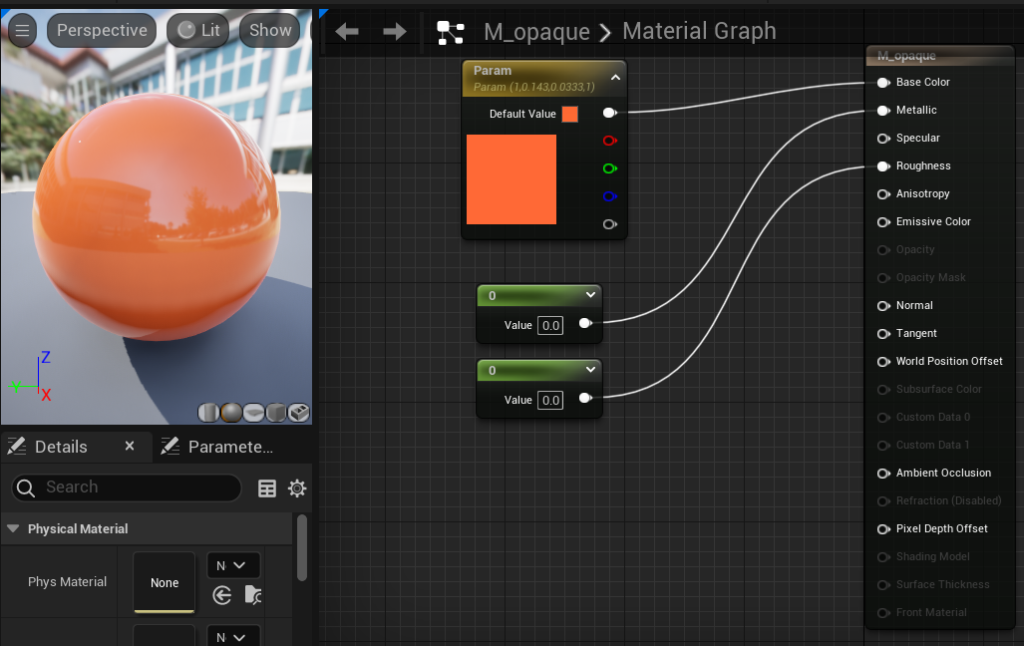
Material
The main idea of materials in UE is getting comfortable with parameters.
For the blueprint, the logic of how it works is from left to right, so organize the panels and keep each box well.
For the basic adjusting color and index :
- 1 + left click => create index
- 3 + left click => create color ( Press 2 would be two colors combined )
- Rename the panel, right click and convert to parameter.
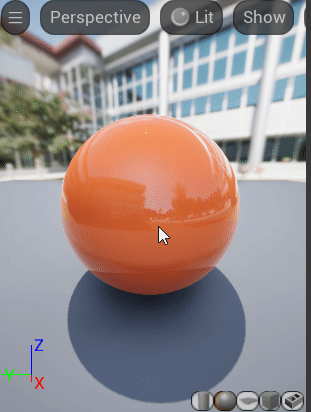
Tips! Press ‘L’ + left click drag to see the sunlight changing position.
Texture sample:
- R : Ambient Occlusion
- G : Roughness
- B : Displacement
Remember to create Materails instant which can save time while changing the mother main ball.
Tips: Break the link by Ctr + drag and drop.
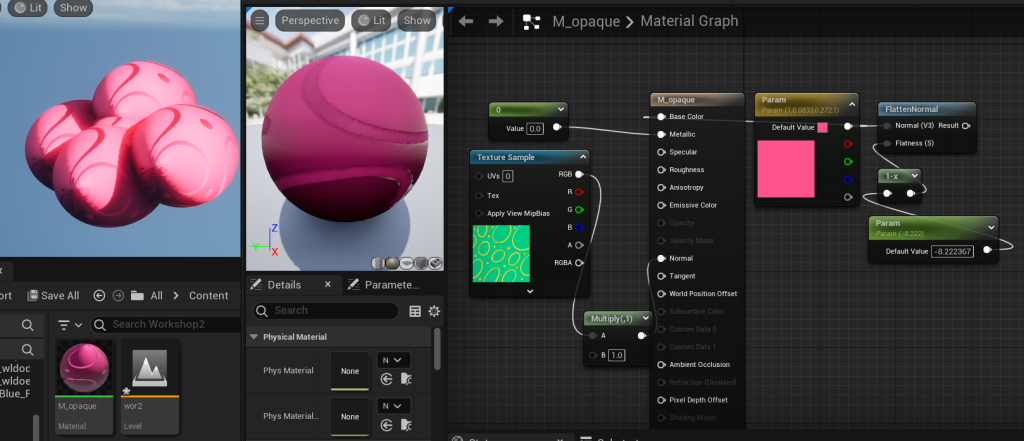
For normal property, it is how the color catches light. If we want to create a wet floor, we can use Flatten Normal and add one minus with a negative number.