-> 2023 02 Nov.
WIP of project
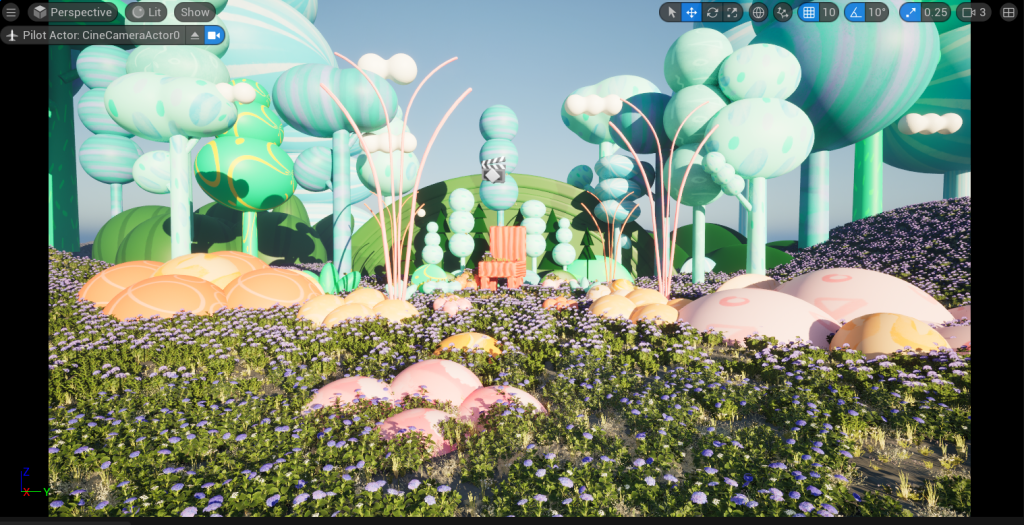
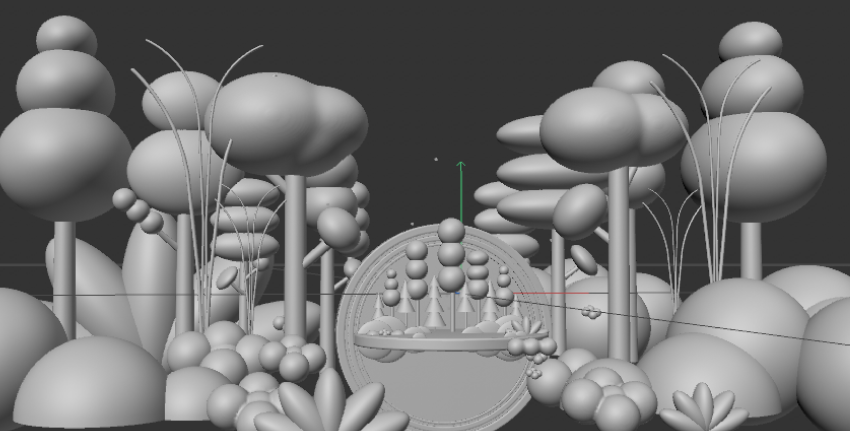
I created my own scenes in C4D and imported them to UE. I set simple zoom-in camera sequences. I finally knew how to adjust the camera focus in UE. It was so cool to adjust the focus so quickly.
For setting the focus of the Camera, just search for the property of the camera where we can find the focus bar.

-> 2023 01 Nov.
3D Substance Painter
After discussing with Natalia, I started to use Adobe 3D Painter to create my own texture ball which will be imported in UE.
Before I import the model to the painter, I need to prepare my model in C4D to be unwrapped by the UV editor. I learned how to cut the UV in C4D which has been my nightmare. With the help from Natatlia, I found it wasn’t so difficult to make it. And, of course, with the help of Plugin ( I learned this online), it is easier to adjust texture and pattern; and even better to design in detail.
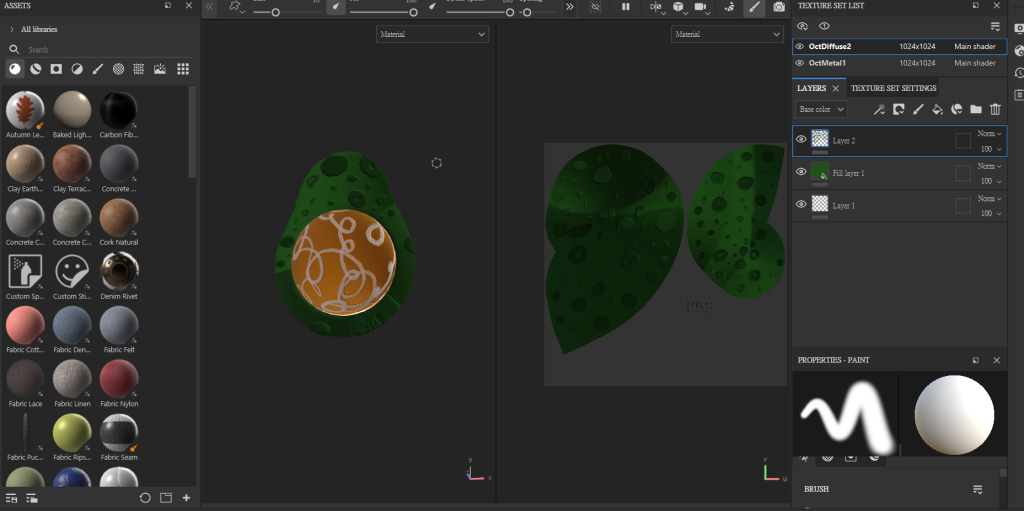

After I finish my own texture, I export it as PNG channels separately.
- File -> export textures -> select folder to save
Well….. After doing so many processes, it is not the end of my texture ball-making journey. I need to create a material ball in C4D and drag the pattern image into the blueprint step by step.
I even spent a week creating my own material library.
Even though it took so long to create a unique material library on my own, I thought it was worthy and good for use afterward.
-> 2023 26 OCT.
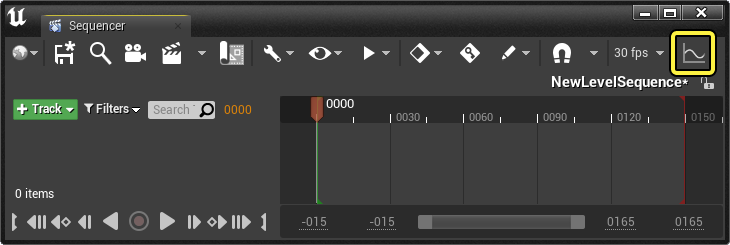
Sequencer
Today, we learned how to make sequences and set camera keyframes in UE. ( It’s overwhelming….at first )
For creating a sequencer to film and record, we need these 3 to get done:
- Add level sequencer ( save file location and name properly )
- Window -> Cinematics -> Sequencer (the window will pop up below )
- Press +cube icon (quickly add to project ) -> Cinematic -> Add Cine Camera Actor -> Drag it to the Sequencer
Once the sequence Asset has been created, navigate to the Place Actors panel and drag in a Level Sequence Actor from the Cinematic category.
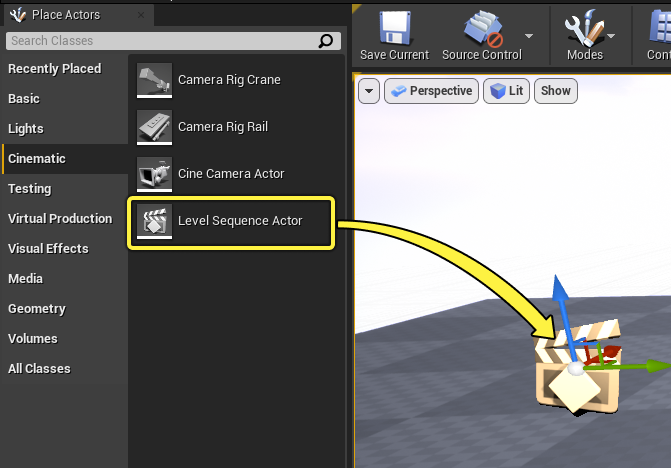
- Optionally, add a new Actor you wish to animate to your scene.
- Click Cinematics in the Toolbar and select Add Level Sequence.
- Name the new Level Sequence and Save.
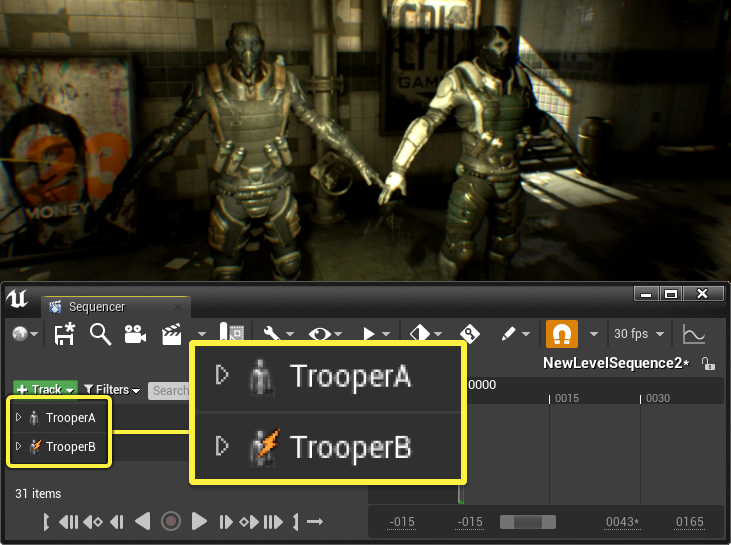
- In the Sequencer: click the Track dropdown, set the Actor To Sequencer, and select the Actor you wish to animate.
- Add your initial keyframe for any or all Transform properties by clicking the small + button (“Add a new keyframe at the current time”).
- Move the Playhead along the Timeline.
–
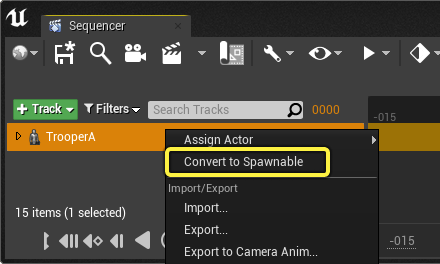
| Spawnable Actors | Possessable Actors |
| In cases where your scene requires Actors that might be temporary for the duration of a scene, you can use Sequencer’s Spawnable feature to create temporary Actors. By default, when a sequence with a Spawnable Actor starts, the Actor will be spawned. When the sequence ends, the Actor will be destroyed and removed. -> Will disappear | Possessing Actors is done by adding or binding Actors that exist in the Level of your sequence. ->Will stay ex. Buildings or tress |
About Looking Seeing -> Enable Look at Tracking
-> 2023 25 OCT.
Bubble effects in UE
With help from Natalia, I learned how to build a bubble by blueprint in UE5. During the process.
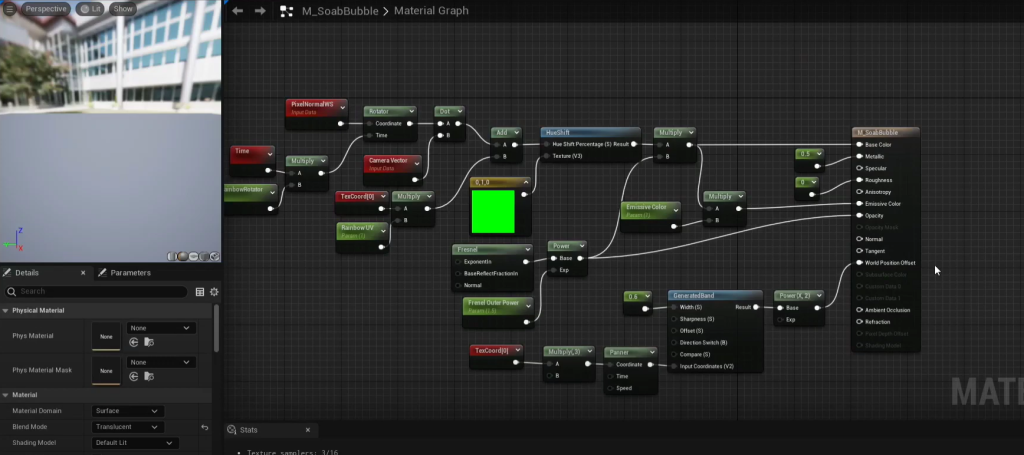
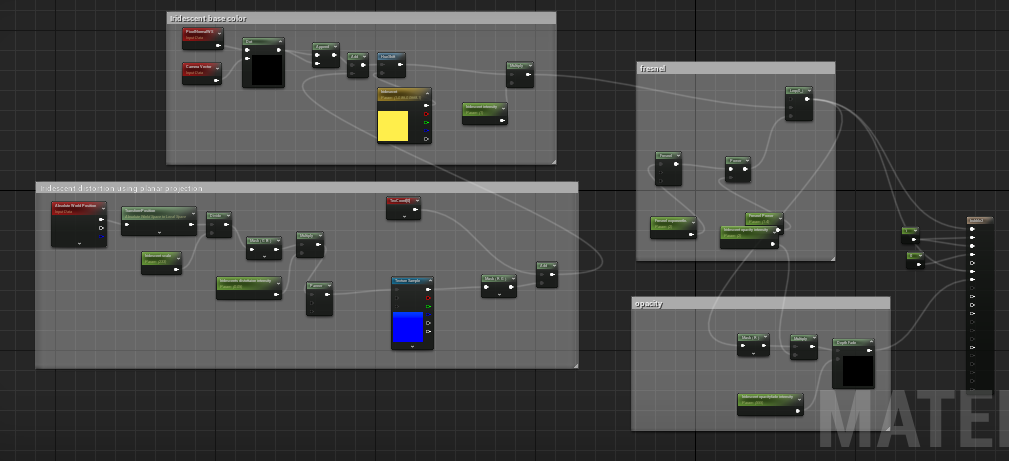
This is a test of Bubbles. There are two different blueprints resulting in a similar effect of bubble.
Later, I tried to figure out how to create an irregular and liquid-like surface of bubbles, which you can refer to in this YouTube video.