W14 Post edit/ Final touch

I added blur effects on this shot so all the attention of the visuals will be focused on the centre objects.
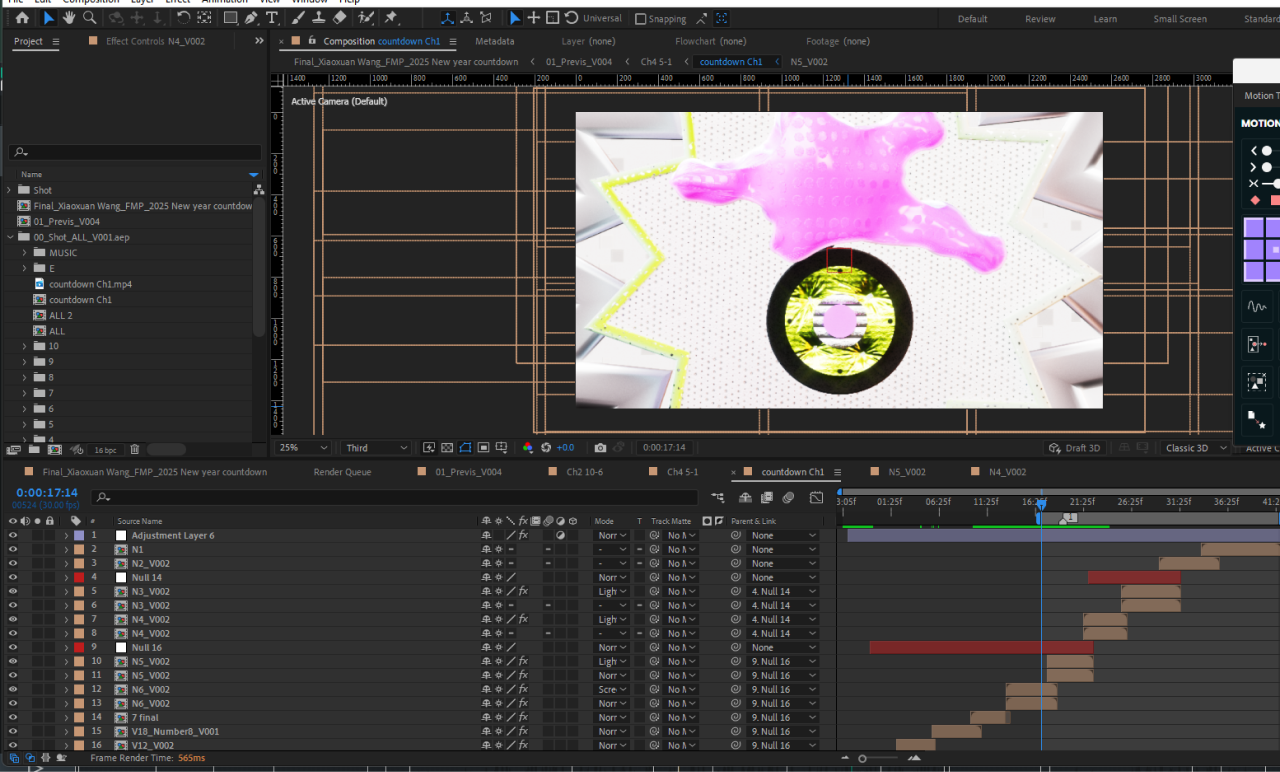
The keyframes and precomps in After Effects were really crazy to manage, especially with such a detailed animation project.
However, I learned that staying organized is the key to boosting efficiency. Renaming all files clearly and backing up regularly became essential habits during this process.
By keeping my project tidy and well-structured, I was able to navigate through layers, keyframes, and precomps much more easily, saving time and avoiding unnecessary stress. It’s a small effort that makes a big difference, especially for complex projects like this one!
Trailer
I made a trailer version for my work as a promotion on social media.
I use AE to do the whole edition. It is very time-consuming while I render all shots separately, and some parts need extra editing in AE. I also found some useful scripts to help me do colour enhancement and effects like glowing.
Here are some tutorials I learned from:
I use deep glow ( a plugin ) for so many shots, like motion blur style, as well as glowing stuff in the background.

Transitions for Smooth Flow
One of the main challenges was ensuring that each countdown number transitioned smoothly into the next. In After Effects, I used motion blur, fade effects, and masking techniques to create dynamic connections between scenes. These transitions added fluidity, making the countdown feel cohesive and visually engaging.
This is one shot I removed since I felt it was too extra and the speed of the whole video would be too fast. After I remove this shot, it gets better that people can watch the character more longer instead of just a glance.

Adding Overlay Effects
To enhance the style of the animation, I incorporated glitch effects and overlays that gave the countdown a modern, edgy vibe. These effects were carefully timed to match the background music, adding energy and excitement to the visuals.
I increased the saturates of this shot since I felt like it was too dark and did not blend with the other shot’s color.

Color Grading and Consistency
Post-editing also allowed me to adjust the colour tones to maintain consistency across all the shots. I used gradient overlays and colour grading tools in AE to ensure the visuals aligned with the overall mood of the countdown animation.

I also added a few more elements, a spinging loop, and used it as background decorations. With this footage, it is really handy to use for any supplements for burial in the background. For example, you can see this cirlces footages are used in the number one countdown as background.

Enhancing Details
I added finishing touches like glowing effects, repeated frame cuts, and subtle camera shakes to make the animation more dynamic. These small details helped emphasize key moments, like the transitions between numbers or the climactic countdown to number one.
I learned some rendering in C4D from this tutorial. It teaches me how to set random colourful textures on the same clone’s objects. With this setting in Redshift materials, I don’t need to receive and copy-paste so many materials on every object.


Syncing with Music
In AE, I fine-tuned the timing of each shot to sync perfectly with the beats of the background music. This synchronization made the animation more immersive and ensured the audience stayed engaged throughout the countdown.
By combining my animations from Cinema 4D with the powerful editing tools in After Effects, I was able to craft a countdown that feels polished, exciting, and visually cohesive. Post-editing became the bridge that connected all my creative ideas into a single, impactful animation.
STB for this cool transition


This is a transition that I had been thinking of for so long, but I still didn’t know how to make it good. At first, I just felt like maybe cut directly and then move on to the next shot without any transit. However, it would be too interupt when I just stop the shot in the ending when the girl is looking at the alarm.
After I listened many times to background music, I felt like it could be an explosion when the high key is happening at the end of this shot and make it a transition when the girl disappears, and the clock ticks from 23:59 to 00:00. This is also the key moment when the story is going to enter the final countdown.